Table of Contents
Turning a spare corner into a powerhouse of fitness? A solid home gym equipment rack is your foundation. It's not just about storing weights; it's about crafting a safe, efficient, and motivating workout environment. This article cuts through the clutter, offering practical advice on selecting the perfect rack for your space, budget, and fitness goals. We'll explore space-saving designs, essential features to prioritize, and a step-by-step guide to setup. Learn how to maximize your workouts with the right rack and keep your equipment in top shape with our maintenance and safety tips. Whether you're a seasoned lifter or just starting your fitness journey, we'll help you build a home gym that supports your strength and keeps you coming back for more. Let's dive in and build your dream home gym, one rack at a time.
SpaceSaving Home Gym Equipment Rack Ideas
SpaceSaving Home Gym Equipment Rack Ideas
Wall-Mounted Wonders
Limited floor space doesn't mean sacrificing gains. Wall-mounted racks are a game-changer for small home gyms. Think about it: you're utilizing vertical space that would otherwise go unused. These racks are perfect for storing weight plates, barbells, and even smaller items like resistance bands. Plus, many models are foldable, allowing you to tuck them away when not in use. Talk about maximizing your square footage!
I've seen some seriously ingenious setups using wall-mounted racks. One guy I know converted his tiny apartment closet into a mini-gym with a foldable rack and some carefully chosen weights. Another transformed a section of his garage, keeping his workout area clear when he needed to park the car. The key is to measure your space accurately and choose a rack that fits your specific needs. Don't forget to factor in the weight capacity and ensure your wall can handle the load. Safety first, always!
- Foldable Wall Racks: Great for temporary setups.
- Fixed Wall Racks: Offer more stability for heavier weights.
- Customizable Options: Add shelves, hooks, and other accessories to tailor your rack.
Corner Conquerors and Multi-Storage Solutions
Corners are often overlooked, but they can be a goldmine for storage. Corner racks are designed to fit snugly into these spaces, making them ideal for smaller rooms. These racks typically feature multiple tiers or shelves, allowing you to store a variety of equipment, from dumbbells to kettlebells. They're a fantastic way to keep your workout area organized and clutter-free. Plus, they look pretty slick!
Beyond corner units, think about racks that serve multiple purposes. A rack with built-in storage for resistance bands, jump ropes, and foam rollers can save you a ton of space. I've even seen racks with integrated pull-up bars, adding another dimension to your workouts. The goal is to find a rack that not only stores your equipment but also enhances your overall training experience. Get creative and think outside the box!
Rack Type | Best For | Features |
|---|---|---|
Corner Rack | Small spaces, maximizing unused corners | Multi-tiered shelving, compact design |
Multi-Storage Rack | Organizing various equipment types | Shelves, hooks, and compartments |
Rack with Pull-Up Bar | Adding bodyweight exercises | Integrated pull-up bar, space-saving design |
Essential Features to Look for in a Home Gym Equipment Rack
Essential Features to Look for in a Home Gym Equipment Rack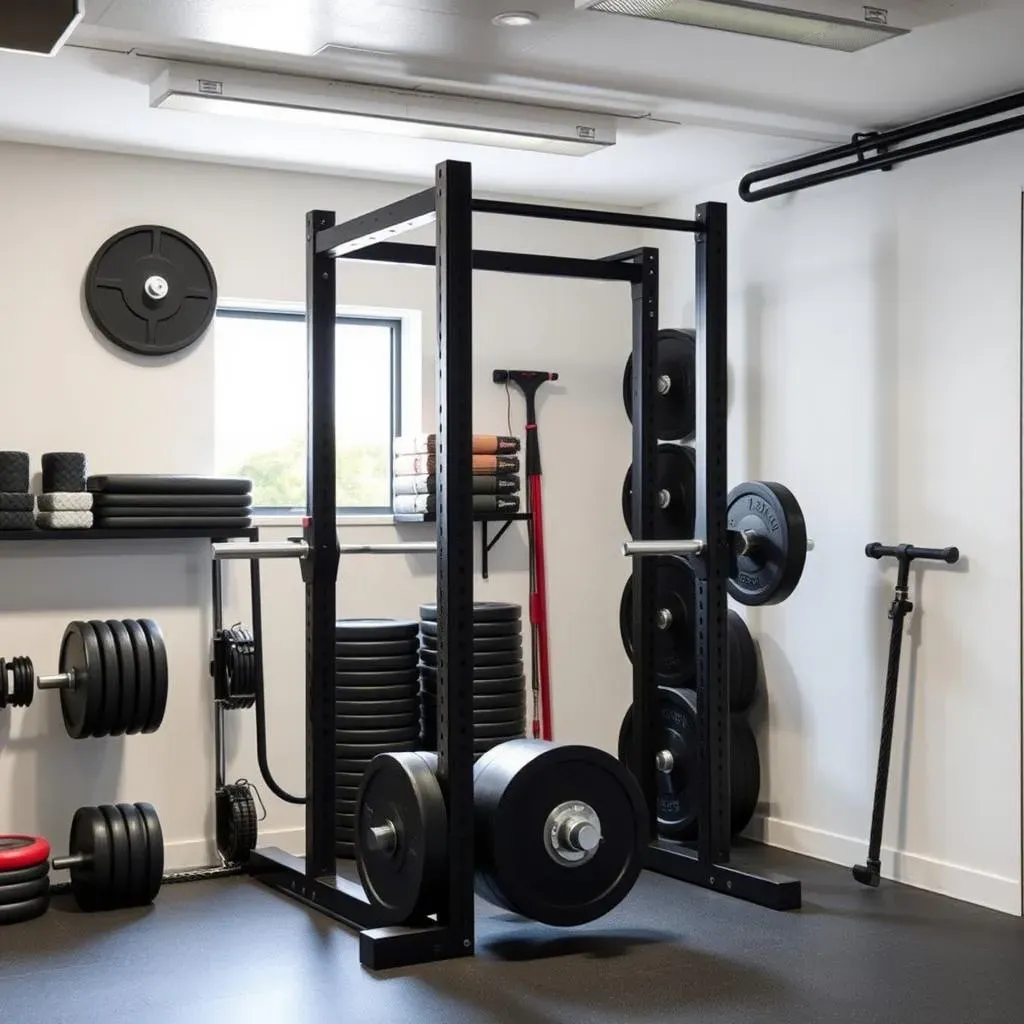
#1: Stability and Weight Capacity
First things first: safety. A wobbly rack is a recipe for disaster. You want a rack that feels rock-solid, even when loaded with heavy weights. Look for racks made from thick-gauge steel, with a wide base for added stability. Check the weight capacity carefully and make sure it exceeds your current and future lifting goals. Don't skimp on this – it's not worth the risk.
I've seen racks buckle under pressure, and it's not a pretty sight. A friend of mine learned this the hard way when his cheap rack collapsed during a squat, sending weights crashing to the floor. Thankfully, he wasn't seriously injured, but it could have been much worse. Invest in a quality rack that can handle the load. Your body will thank you.
#2: Adjustability and Versatility
A good home gym equipment rack should adapt to your evolving fitness needs. Look for adjustable J-cups and safety bars that can be easily repositioned to accommodate different exercises and heights. The more versatile the rack, the more exercises you can perform. Think squats, bench presses, overhead presses, pull-ups – the possibilities are endless.
I'm a big fan of racks with Westside hole spacing (smaller increments between holes). This allows for more precise adjustments, especially when bench pressing. Also, consider racks with attachments like dip bars, landmine attachments, and cable systems. These can add a ton of variety to your workouts and keep things interesting. Don't get stuck with a rack that limits your potential.
#3: Footprint and Space Efficiency
Let's be real: most home gyms aren't exactly spacious. You need a rack that fits comfortably in your designated workout area without taking over the entire room. Measure your space carefully and consider the rack's footprint before making a purchase. Folding racks are a great option for tight spaces, allowing you to reclaim valuable floor space when not in use.
I've seen people cram massive racks into tiny apartments, and it's never a good look. Not only does it make the room feel claustrophobic, but it also creates a safety hazard. Make sure you have enough space to move around the rack freely and perform exercises without bumping into walls or furniture. A well-planned home gym is a happy home gym.
Feature | Why It Matters |
|---|---|
Stability | Prevents accidents and injuries |
Adjustability | Accommodates different exercises and heights |
Footprint | Ensures the rack fits comfortably in your space |
Setting Up Your Home Gym Equipment Rack: A StepbyStep Guide
Setting Up Your Home Gym Equipment Rack: A StepbyStep Guide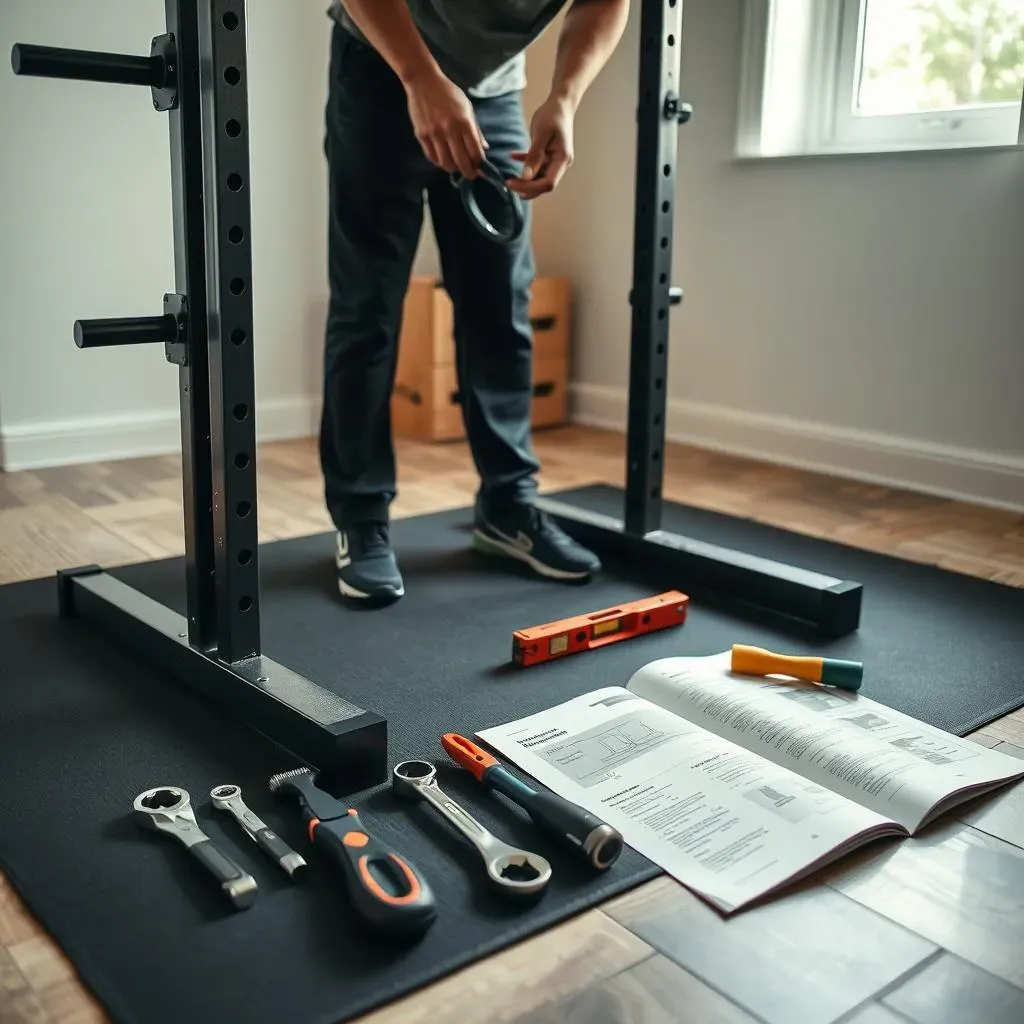
Step 1: Planning and Preparation
Alright, you've got your shiny new home gym equipment rack. Now what? Don't just start throwing things together! Proper planning is key. First, clear the area where you'll be setting up the rack. Make sure you have enough space to move around comfortably. Next, gather your tools: a wrench, socket set, level, and maybe a rubber mallet. Trust me, you'll need them. Finally, read the instructions! I know, it's tempting to skip this step, but it'll save you a lot of headaches down the road. Trust me. I've been there, done that, got the t-shirt (and the stripped bolt).
Before you even open the box, double-check that you have all the necessary hardware. Most racks come with a parts list. Take a few minutes to inventory everything and make sure nothing is missing. If something is missing, contact the manufacturer right away. It's better to deal with it now than to get halfway through the assembly process and realize you're missing a crucial bolt. Also, consider laying down a protective mat to prevent scratches on your floor. A little bit of preparation goes a long way.
Step | Description | Why It's Important |
|---|---|---|
Clear the Area | Remove any obstacles from the setup location. | Ensures a safe and efficient assembly process. |
Gather Tools | Collect all necessary tools before starting. | Prevents delays and frustrations during assembly. |
Read Instructions | Familiarize yourself with the assembly process. | Reduces the risk of errors and ensures proper setup. |
Inventory Parts | Verify that all parts are present and accounted for. | Avoids delays and ensures you have everything you need. |
Maximizing Your Workout with the Right Home Gym Rack
Maximizing Your Workout with the Right Home Gym Rack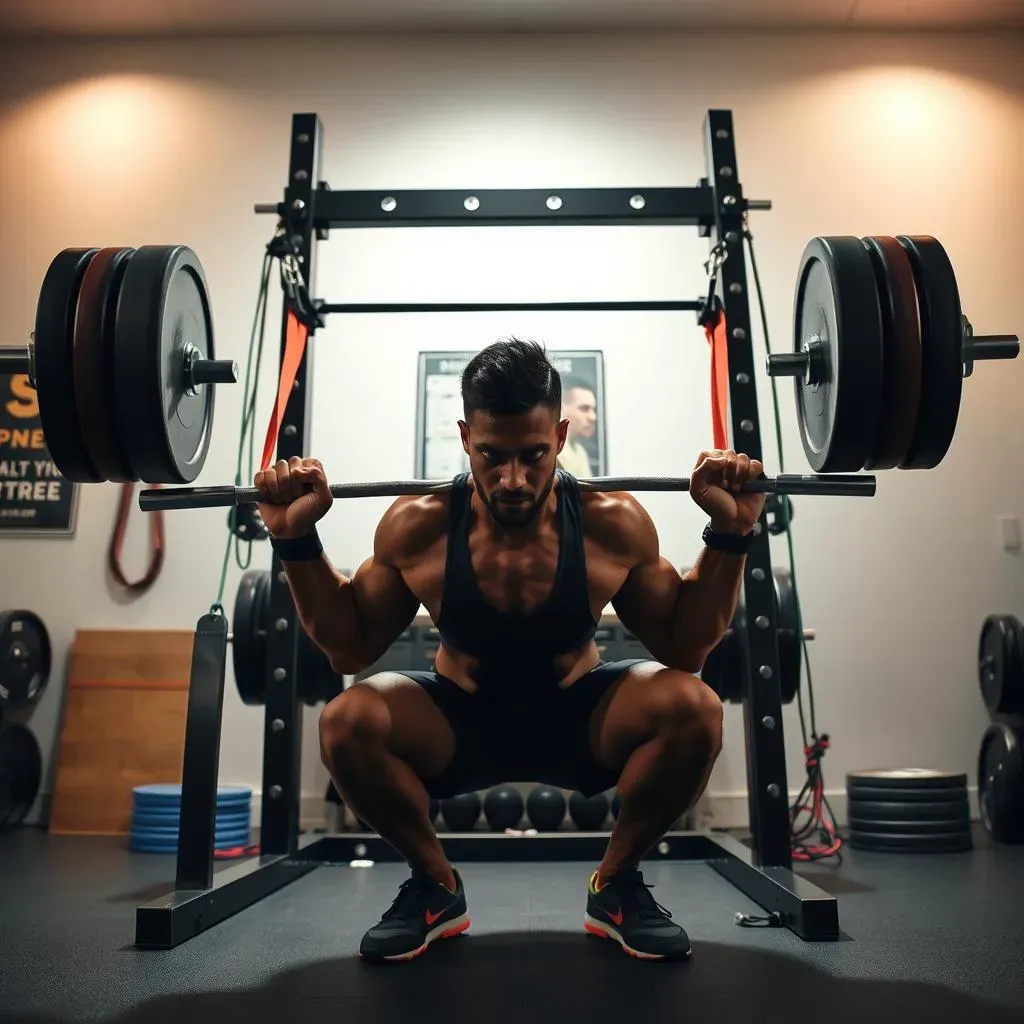
Unlocking Full-Body Potential
so you've got your rack set up. Now it's time to put it to work! The beauty of a home gym equipment rack is its versatility. It's not just for squats and bench presses (although it's fantastic for those). With a little creativity, you can transform your rack into a full-body training station. Think about it: pull-ups, dips, rows, even core work can all be incorporated into your rack workouts. The key is to think beyond the traditional exercises and explore the possibilities.
I love using my rack for unconventional exercises. For example, I'll set up a landmine attachment and do rotational presses or rows. Or, I'll use resistance bands anchored to the rack for assisted pull-ups or pushdowns. The possibilities are endless! Don't be afraid to experiment and find exercises that challenge you and keep things interesting. Remember, the best workout is the one you enjoy.
Progressive Overload and Exercise Variation
To truly maximize your workouts, you need to focus on progressive overload. This means gradually increasing the weight, reps, or sets over time. Your rack is the perfect tool for this. Start with a weight that challenges you but allows you to maintain good form. Then, gradually increase the weight each week. If you're feeling stuck, try increasing the reps or sets instead. The key is to consistently challenge your muscles and force them to adapt.
Also, don't get stuck in a rut doing the same exercises over and over again. Your body will adapt, and you'll stop seeing results. Mix things up by incorporating different variations of the same exercise. For example, instead of just doing regular squats, try front squats, goblet squats, or Bulgarian split squats. Or, instead of just doing bench presses, try incline presses, decline presses, or dumbbell presses. By changing the angle or the equipment, you can target different muscles and keep your body guessing.
Tracking Progress and Setting Goals
Finally, to truly maximize your workouts, you need to track your progress and set realistic goals. Keep a workout journal and record your weights, reps, and sets for each exercise. This will allow you to see how far you've come and identify areas where you need to improve. Also, set specific, measurable, achievable, relevant, and time-bound (SMART) goals. For example, instead of just saying "I want to get stronger," set a goal like "I want to increase my squat by 20 pounds in the next 8 weeks."
I find that having a clear goal in mind keeps me motivated and focused. It also helps me stay on track and avoid getting sidetracked. Don't be afraid to adjust your goals as needed. If you're making great progress, set a more ambitious goal. If you're struggling, scale back your goal and focus on consistency. The key is to stay flexible and adapt to your body's needs. Remember, fitness is a journey, not a destination.
Strategy | Description | Benefit |
|---|---|---|
Progressive Overload | Gradually increase weight, reps, or sets. | Forces muscles to adapt and grow stronger. |
Exercise Variation | Incorporate different exercises and variations. | Prevents plateaus and targets different muscles. |
Tracking Progress | Record your weights, reps, and sets. | Allows you to see your progress and identify areas for improvement. |
Setting Goals | Set specific, measurable, achievable, relevant, and time-bound goals. | Keeps you motivated and focused. |
Home Gym Equipment Rack Maintenance and Safety Tips
Home Gym Equipment Rack Maintenance and Safety Tips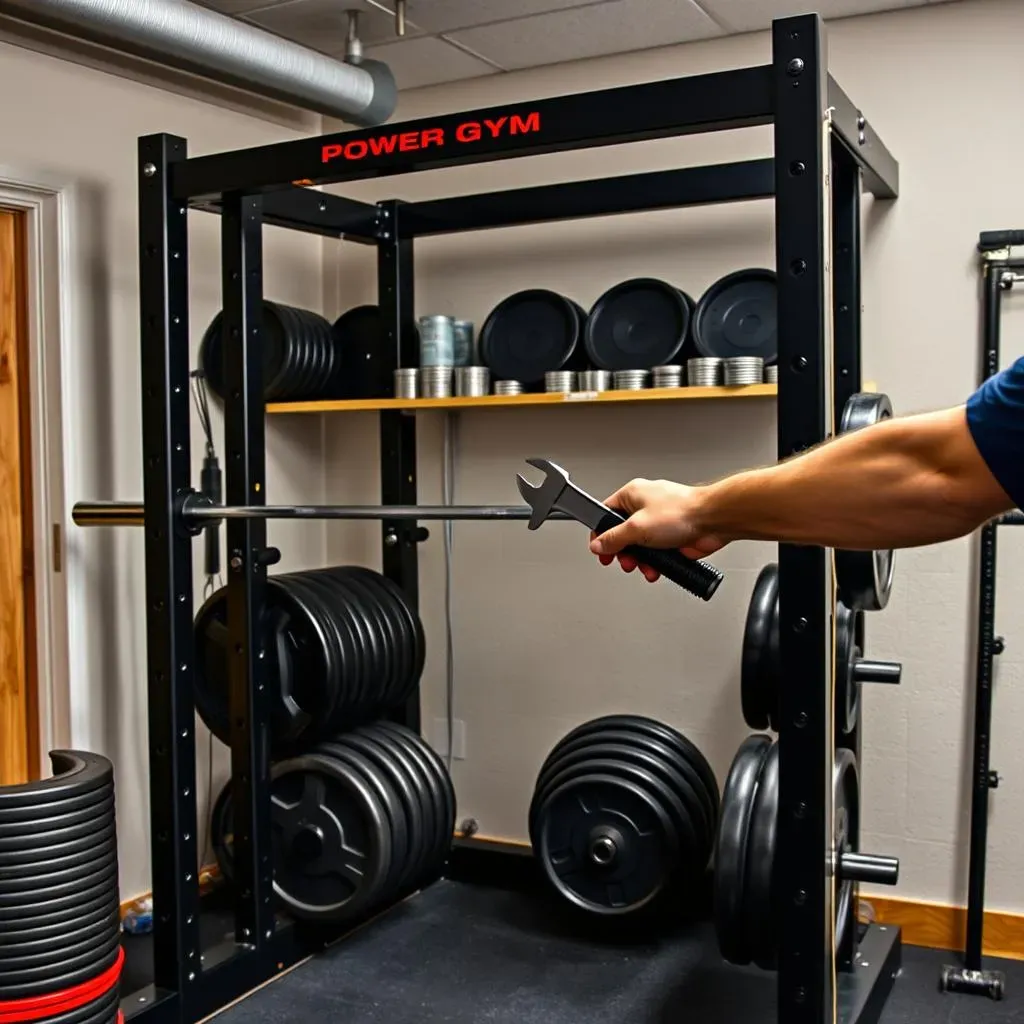
Regular Inspections: The Key to Longevity
Alright, let's talk about keeping your home gym equipment rack in tip-top shape. Think of it like your car – you wouldn't drive it for years without an oil change, right? The same goes for your rack. Regular inspections are crucial for identifying potential problems before they become major headaches. We're talking about checking for loose bolts, cracks in the welds, and any signs of wear and tear. A few minutes of inspection can save you from a catastrophic failure down the road.
I usually do a quick once-over after every few workouts. I'm looking for anything that seems out of place or feels loose. Pay special attention to the J-cups and safety bars, as these are the parts that take the most abuse. If you spot something amiss, don't ignore it! Tighten those bolts, replace worn-out parts, and address any issues immediately. A proactive approach is always the best approach.
Inspection Point | What to Look For | Frequency |
|---|---|---|
Bolts | Looseness, rust, or damage | Weekly |
Welds | Cracks or signs of stress | Monthly |
J-Cups and Safety Bars | Wear, damage, or misalignment | Weekly |
Frame | Dents, bends, or corrosion | Monthly |
Cleaning and Lubrication: Keeping Things Smooth
Sweat, chalk, and dust – these are the enemies of your home gym equipment rack. Over time, they can corrode the metal, seize up moving parts, and generally make your rack look and feel gross. Regular cleaning and lubrication are essential for keeping things running smoothly. A simple wipe-down with a damp cloth after each workout can go a long way. For a deeper clean, use a mild detergent and a soft brush.
Also, don't forget to lubricate the moving parts. A little bit of WD-40 or silicone spray can work wonders on the J-cups, safety bars, and any other adjustable components. This will prevent them from sticking and ensure smooth, effortless adjustments. I like to apply a light coat of lubricant every few months. It's a small investment of time that pays off big in terms of performance and longevity.
Safety First: Spotting Techniques and Proper Usage
No matter how strong or experienced you are, safety should always be your top priority. This means using proper spotting techniques and understanding the limitations of your home gym equipment rack. If you're lifting heavy weights, always have a spotter present. If you're training alone, learn how to bail out of a lift safely. This might involve dropping the weight or using the safety bars to catch it.
Also, be mindful of your surroundings. Make sure you have enough space to move around the rack without bumping into anything. Keep the area clear of clutter and distractions. And, of course, never exceed the weight capacity of your rack. It's better to be safe than sorry. A little bit of caution can prevent serious injuries and keep you training for years to come.
Conclusion: Rack Up the Gains with Your Perfect Home Gym Equipment Rack
Investing in the right home gym equipment rack is more than just buying a piece of equipment; it's investing in your fitness journey. By carefully considering your space, needs, and budget, you can create a home gym that's both functional and motivating. Remember to prioritize safety, maintenance, and smart storage solutions to maximize your workouts and protect your investment. So, take the plunge, set up your rack, and get ready to rack up the gains! Your stronger, healthier self awaits.