Table of Contents
Is your treadmill gathering dust instead of miles? Has your elliptical become an expensive clothes hanger? Don't let broken equipment derail your fitness goals. Home gym equipment repair can seem daunting, but with the right knowledge, you can often get things back up and running without breaking the bank. This article is your comprehensive guide to understanding the ins and outs of fixing your own fitness gear. We'll explore when DIY repairs are a smart move, and when it's best to call in the pros. We'll also break down the costs associated with professional repairs, and offer essential preventative maintenance tips to keep your equipment in top shape, avoiding those frustrating breakdowns in the first place. Whether you're dealing with a squeaky exercise bike or a completely unresponsive treadmill, we've got you covered. Let's dive in and get your home gym back in action!
DIY Home Gym Equipment Repair: When to Tackle It Yourself
DIY Home Gym Equipment Repair: When to Tackle It Yourself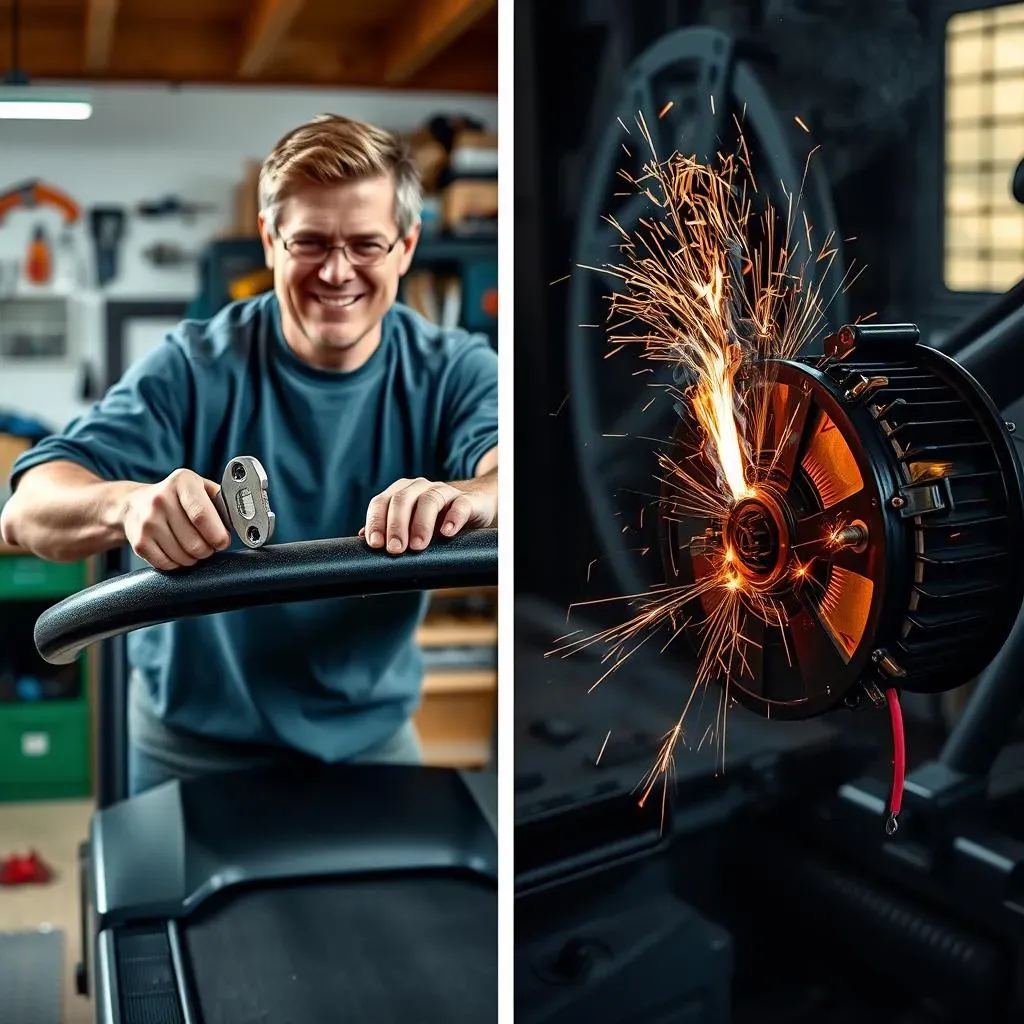
Know Your Limits: Simple Fixes You Can Handle
so your treadmill's belt is slipping, or your exercise bike is making a weird clicking noise. Before you resign yourself to a pricey repair bill, let's talk DIY. Some repairs are surprisingly straightforward and totally within reach for the average homeowner. Think of it like this: if you're comfortable assembling IKEA furniture, you can probably handle basic gym equipment maintenance. We're talking about things like tightening loose bolts, lubricating squeaky parts, replacing worn-out treadmill belts, or swapping out simple components like batteries or console displays. The key is to assess the situation honestly. Are you dealing with a complex electrical issue or a major mechanical malfunction? If so, it's time to call in the pros. But for minor annoyances and routine upkeep, roll up your sleeves and get ready to save some cash.
Before you even think about grabbing a wrench, **always unplug the equipment!** Seriously, electricity and DIY don't mix. Next, consult your owner's manual. These manuals often have troubleshooting sections that can guide you to the source of the problem and offer step-by-step instructions for basic repairs. If your manual is MIA, a quick Google search for your equipment's make and model, plus the word "manual," should do the trick. And YouTube is your friend! There are tons of videos demonstrating common repairs. Just make sure you're watching a reputable source and that the video applies to your specific machine. Remember, a little research can prevent a lot of headaches (and potential injuries).
Repair Type | Difficulty | Tools Needed |
|---|---|---|
Tightening Loose Bolts | Easy | Wrench, Screwdriver |
Lubricating Parts | Easy | Lubricant (silicone-based) |
Replacing Treadmill Belt | Medium | Wrench, Screwdriver, New Belt |
Replacing Batteries | Easy | Screwdriver, New Batteries |
When to Call a Pro: Recognizing the Red Flags
Alright, let's be real: not every repair is a DIY project. Sometimes, you're better off admitting defeat and calling in a professional. So, how do you know when it's time to throw in the towel? Here's a good rule of thumb: if the repair involves complex electrical components, intricate mechanical systems, or anything that makes you feel even slightly uneasy, it's time to seek expert help. Messing with the motor, the console's internal wiring, or the incline mechanism on your treadmill can be dangerous, not to mention potentially voiding your warranty. And trust me, the cost of fixing a mistake you made trying to be a hero will almost always be higher than the cost of hiring a professional in the first place.
Another red flag? If you've tried troubleshooting the problem yourself and you're still stumped, don't keep poking around blindly. You might inadvertently make the problem worse. Instead, gather as much information as you can about the issue – what were you doing when the problem occurred? What noises is the machine making? Are there any error codes on the console? – and pass that information along to the repair technician. The more details you can provide, the easier it will be for them to diagnose the problem and get your equipment back in working order quickly. Remember, knowing when to admit defeat is a sign of intelligence, not weakness. Plus, it'll save you a lot of frustration (and maybe even a trip to the emergency room).
Finding Professional Home Gym Equipment Repair Services
Finding Professional Home Gym Equipment Repair Services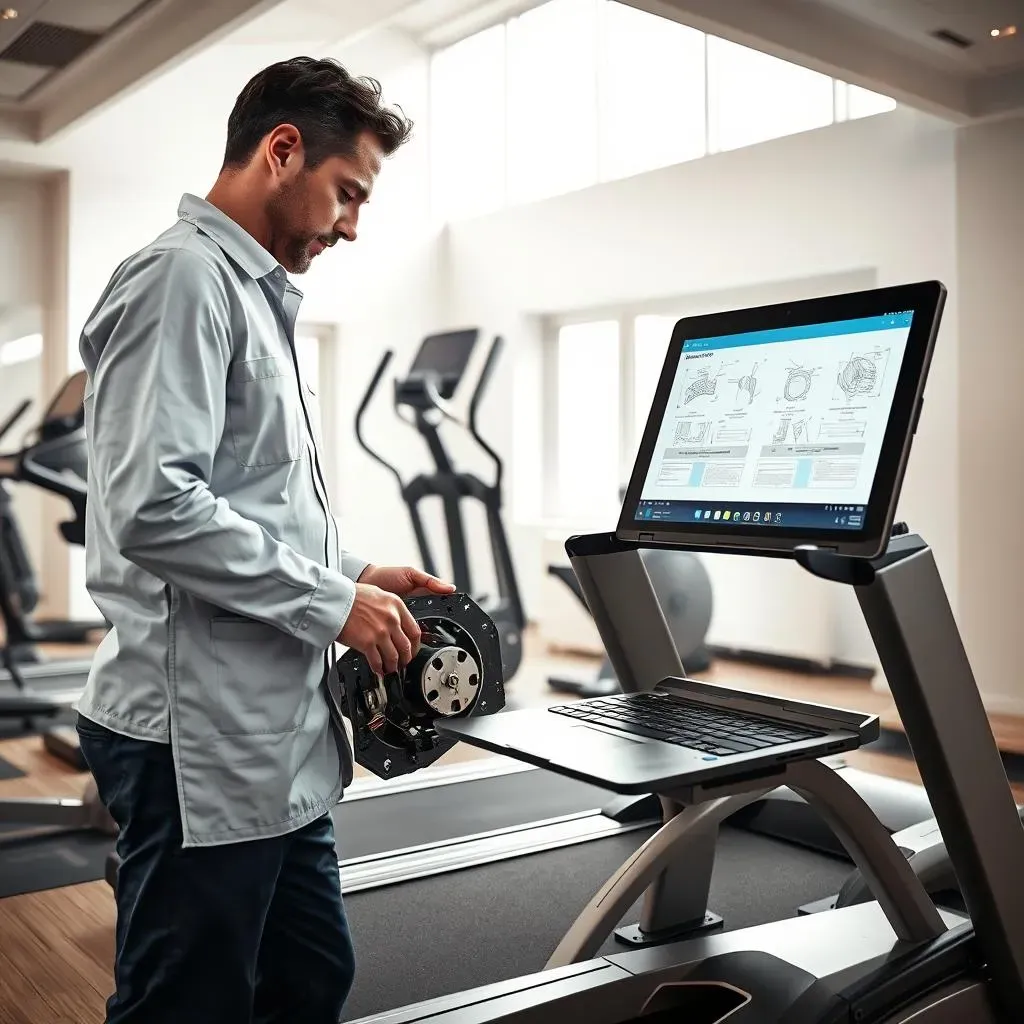
Where to Look: Vetting Local Repair Options
So, you've decided that your home gym equipment repair is best left to the professionals? Smart move! But where do you even start looking for a reliable technician? Well, first things first, check with the manufacturer of your equipment. Many companies have authorized service providers in your area, and going with an authorized technician can ensure that the repair is done correctly and that your warranty remains valid. If the manufacturer doesn't have a local service provider, don't despair! A quick Google search for "fitness equipment repair near me" should turn up a list of local companies. But before you pick the first name on the list, do your homework.
Read online reviews on Yelp, Google, and the Better Business Bureau to get a sense of the company's reputation. Look for companies with consistently positive reviews and a proven track record of quality work. Don't be afraid to ask for references, either. A reputable repair company should be happy to provide you with a list of satisfied customers. It's also a good idea to check if the technicians are certified. Certifications from organizations like the International Fitness Association (IFA) or the National Academy of Sports Medicine (NASM) demonstrate that the technician has the knowledge and skills necessary to properly repair your equipment. Finally, make sure the company is insured. This will protect you in case anything goes wrong during the repair process. Finding the right repair service takes a little effort, but it's worth it to ensure that your equipment is in good hands.
- Check with the Manufacturer: See if they have authorized service providers.
- Google is Your Friend: Search for "fitness equipment repair near me."
- Read Reviews: Look for consistently positive feedback.
- Ask for References: Talk to past customers if possible.
- Check Certifications: Ensure technicians are qualified.
- Verify Insurance: Protect yourself from potential liabilities.
Cost of Home Gym Equipment Repair: What to Expect
Cost of Home Gym Equipment Repair: What to Expect
Understanding the Factors Influencing Repair Costs
let's talk money. The cost of home gym equipment repair can vary widely depending on several factors. The type of equipment is a big one. Fixing a treadmill, with its complex motor and electronic components, will generally cost more than repairing a simple exercise bike. The brand and model also play a role. High-end equipment often has proprietary parts that are more expensive to replace. And of course, the nature of the problem is a major factor. A simple belt replacement will be much cheaper than a motor overhaul. Labor costs also vary depending on your location and the repair company you choose. Generally, you can expect to pay an hourly rate for the technician's time, plus the cost of any parts. Be sure to get a detailed estimate before authorizing any repairs, so you know exactly what you're getting into.
Before you even call a repair technician, it's worth checking your warranty. Many fitness equipment manufacturers offer warranties that cover parts and labor for a certain period of time. If your equipment is still under warranty, the repair may be free or significantly discounted. Even if your warranty has expired, it's still worth contacting the manufacturer to see if they offer any assistance. Sometimes, they'll be willing to cover the cost of parts, or offer a discount on labor. It never hurts to ask! Also, consider whether it might be more cost-effective to replace the equipment altogether. If your treadmill is old and has required multiple repairs, it might be time to cut your losses and invest in a new machine. This is especially true if the repair costs are approaching the price of a new piece of equipment.
Typical Price Ranges for Common Repairs
Alright, let's get down to brass tacks. What can you realistically expect to pay for common home gym equipment repair? Well, a basic tune-up, which includes cleaning, lubrication, and tightening of bolts, might run you anywhere from $75 to $150. Replacing a treadmill belt typically costs between $100 and $300, depending on the quality of the belt and the complexity of the installation. Motor repairs can be significantly more expensive, ranging from $200 to $500 or more. And if you need to replace the console on your treadmill or elliptical, you could be looking at a bill of $300 to $700. Keep in mind that these are just estimates, and the actual cost may vary depending on the factors we discussed earlier. It's always a good idea to get multiple quotes from different repair companies to make sure you're getting a fair price.
Repair Type | Typical Price Range |
|---|---|
Basic Tune-Up | $75 - $150 |
Treadmill Belt Replacement | $100 - $300 |
Motor Repair | $200 - $500+ |
Console Replacement | $300 - $700 |
Getting the Best Value: Quotes, Warranties, and DIY
So, how do you make sure you're getting the best bang for your buck when it comes to home gym equipment repair? First, always get at least three quotes from different repair companies. This will give you a good sense of the going rate for the repair and help you avoid getting ripped off. When you're comparing quotes, be sure to ask about the warranty on the repair. A reputable company should offer a warranty on their work, so you're protected if the problem recurs shortly after the repair is completed. Also, don't be afraid to negotiate. Many repair companies are willing to lower their prices if you ask nicely. And finally, consider whether you can tackle the repair yourself. As we discussed earlier, some repairs are relatively simple and can be done with basic tools and a little bit of elbow grease. If you're comfortable with DIY, you can save a lot of money on labor costs.
Before signing off on any repair, make sure you understand the terms and conditions. What exactly is covered by the warranty? What happens if the repair doesn't fix the problem? What is the company's policy on returns and refunds? Getting these questions answered upfront can prevent a lot of headaches down the road. And remember, the cheapest option isn't always the best option. Sometimes, it's worth paying a little extra for a reputable company with a proven track record of quality work. In the long run, this can save you money and frustration.
Preventative Maintenance: Avoiding Costly Home Gym Equipment Repairs
Preventative Maintenance: Avoiding Costly Home Gym Equipment Repairs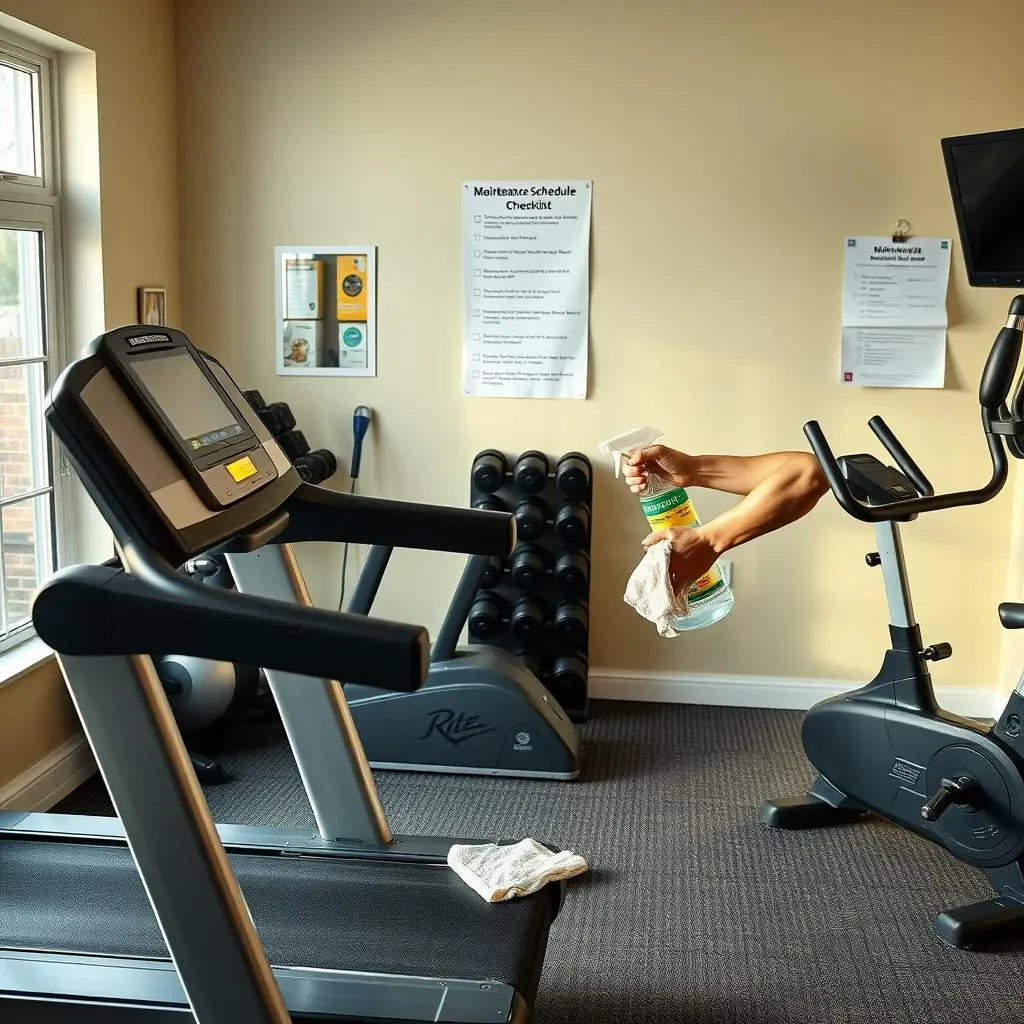
The Power of Prevention: Simple Habits for Long-Lasting Equipment
Want to keep your home gym equipment humming along for years to come? Then embrace the power of preventative maintenance! Think of it like taking your car in for regular oil changes – a little bit of upkeep can prevent major breakdowns and save you a ton of money in the long run. We're talking about simple things like wiping down your equipment after each use to remove sweat and dust, lubricating moving parts regularly, checking for loose bolts and tightening them as needed, and inspecting power cords for any signs of damage. These tasks may seem minor, but they can make a huge difference in the lifespan of your equipment. Neglecting preventative maintenance is like inviting trouble – sooner or later, something's going to break down, and you'll be kicking yourself for not taking better care of your gear.
One of the easiest and most effective things you can do is to wipe down your equipment after every workout. Sweat is corrosive and can damage the surfaces of your machines over time. Keep a spray bottle of diluted cleaning solution (mild soap and water works great) and a clean cloth handy, and make it a habit to wipe down all surfaces after each use. Pay special attention to areas that come into direct contact with your skin, such as handles, seats, and consoles. Another important aspect of preventative maintenance is lubrication. Moving parts need to be lubricated regularly to prevent friction and wear. Consult your owner's manual for specific recommendations on which lubricants to use and how often to apply them. Typically, a silicone-based lubricant is a good choice for most fitness equipment. And don't forget to check for loose bolts and screws! Vibration from regular use can cause these fasteners to loosen over time, which can lead to instability and even damage. Use a wrench or screwdriver to tighten any loose bolts you find. A little bit of preventative maintenance goes a long way in keeping your equipment in top shape and avoiding costly repairs.
Maintenance Task | Frequency | Benefits |
|---|---|---|
Wiping Down Equipment | After Each Use | Removes sweat and dust, prevents corrosion |
Lubricating Moving Parts | Monthly (or as recommended) | Reduces friction, prevents wear |
Checking for Loose Bolts | Monthly | Maintains stability, prevents damage |
Inspecting Power Cords | Monthly | Prevents electrical hazards |
Creating a Maintenance Schedule: Consistency is Key
To really nail preventative maintenance, create a schedule and stick to it! It doesn't have to be complicated. A simple checklist on your phone or a calendar reminder can do the trick. Schedule regular tasks like wiping down equipment, lubricating parts, and checking for loose bolts. The frequency of these tasks will depend on how often you use your equipment. If you're a daily user, you'll need to perform maintenance more frequently than someone who only works out a few times a week. Also, consider the environment in which your equipment is located. If your home gym is in a dusty basement or a humid garage, you'll need to pay extra attention to cleaning and lubrication. A well-maintained home gym is a happy home gym – and it'll save you a lot of money and frustration in the long run.
Think about setting aside a specific day each month to give your equipment a thorough once-over. This is a good time to inspect all the moving parts, check the power cords for any signs of fraying or damage, and clean the console and displays. You might also want to consider investing in a few basic tools, such as a set of wrenches, screwdrivers, and a can of silicone lubricant. These tools will come in handy for performing routine maintenance tasks and making minor repairs. And remember, preventative maintenance is not just about keeping your equipment in good working order – it's also about safety. By regularly inspecting your equipment, you can identify potential hazards and prevent accidents. For example, a frayed power cord can be a fire hazard, and a loose bolt can cause a machine to become unstable. Taking a few minutes to perform preventative maintenance can protect you from serious injury. So, make it a priority, and enjoy the peace of mind that comes with knowing your home gym is safe and well-maintained.
Conclusion: Keeping Your Home Gym Rolling
Ultimately, keeping your home gym equipment in good working order is a balance of proactive maintenance and smart repair decisions. Understanding when you can confidently tackle a DIY fix, and when to call in a professional for your home gym equipment repair, will save you time, money, and frustration. Regular cleaning, lubrication, and inspections can prevent many common issues from arising in the first place. By following the advice in this guide, you'll be well-equipped to keep your fitness routine on track and your home gym humming for years to come. Now get back to those workouts!