Table of Contents
So, you're thinking about building a home gym? Smart move! And if you're serious about getting strong, a home gym equipment squat rack is non-negotiable. It's the cornerstone for countless exercises, from squats and presses to pull-ups and rows. But with so many options out there, picking the right one can feel overwhelming. Where do you even start? What features really matter? How do you make sure you don't end up with a wobbly death trap in your garage? This guide is your one-stop shop for navigating the world of squat racks. We'll break down the different types, highlight the essential features to look for, and give you practical tips for setting up your rack safely. Plus, we'll share some killer workout ideas to get you started. Forget the crowded gym and questionable hygiene, it's time to build the home gym of your dreams, starting with the perfect home gym equipment squat rack. Let's get to it!
Choosing the Right Home Gym Equipment Squat Rack for Your Needs
Choosing the Right Home Gym Equipment Squat Rack for Your Needs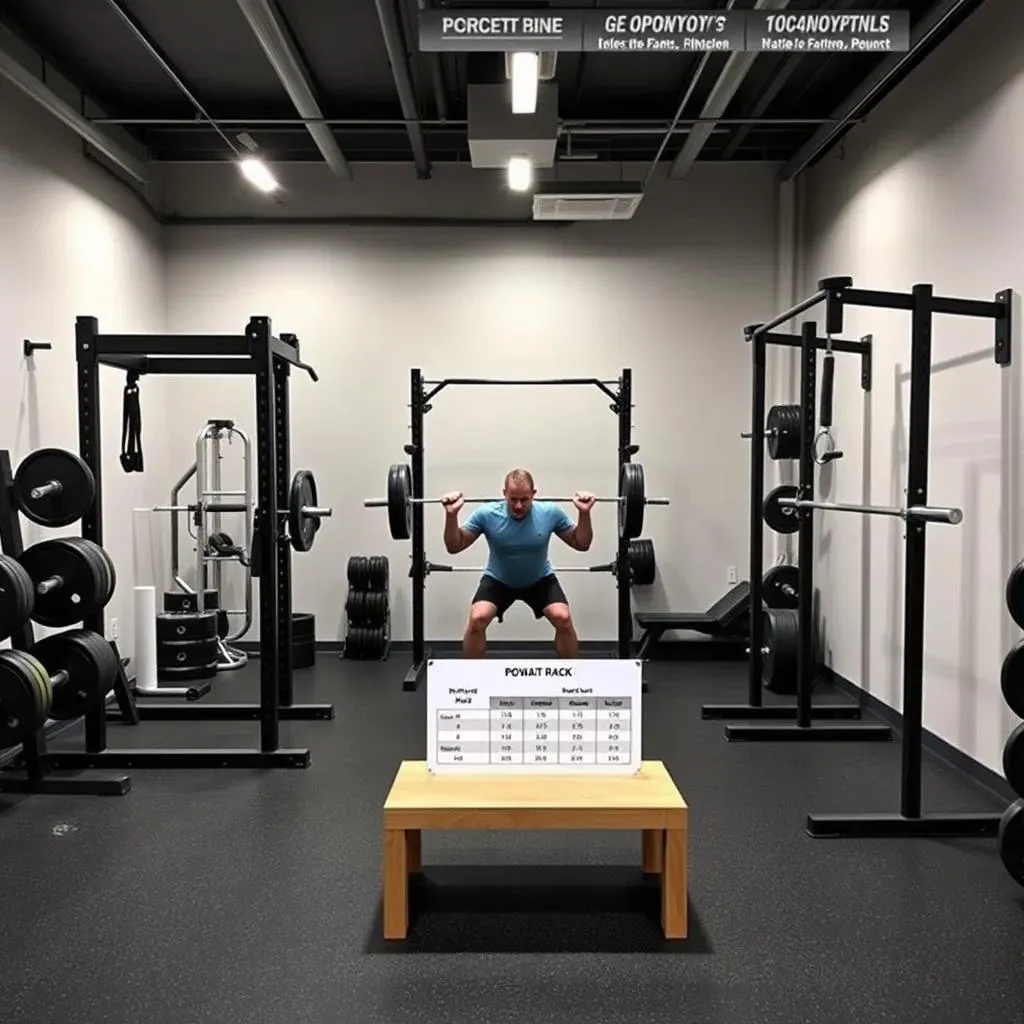
Power Racks: The Ultimate All-in-One
Let's kick things off with the big kahuna of squat racks: the power rack. Think of it as the Swiss Army knife of home gym equipment. It's a fully enclosed cage with adjustable safety bars, so you can push your limits without worrying about getting pinned under a heavy barbell. Power racks are perfect for serious lifters who want to squat, bench press, overhead press, and even do pull-ups, all in one safe and sturdy setup. It’s the go-to for anyone prioritizing safety and versatility.
However, power racks take up a fair amount of space, so measure your gym area carefully before committing. Also, they tend to be on the pricier side, but the investment is well worth it if you're serious about your training. I’ve seen some folks try to DIY power racks, and let me tell you, that's a recipe for disaster. Stick with a reputable brand and follow the assembly instructions to the letter. Your safety depends on it!
Half Racks: A Balance of Space and Functionality
Next up, we have the half rack, which is essentially a power rack that's open on one side. This design offers a good balance between space-saving and functionality. You still get the adjustable safety bars for squats and presses, but the open design allows for more freedom of movement and can be easier to maneuver around in a smaller space. It’s a solid choice if you're a bit tight on square footage but still want a robust setup.
One thing to consider with half racks is that they might not be quite as stable as a full power rack, especially if you're lifting super heavy. Make sure to bolt it securely to the floor if possible, and always use spotter arms when lifting alone. I remember a friend of mine who skipped the bolting step and nearly tipped his half rack over during a heavy squat. Lesson learned: don't cut corners when it comes to safety!
Squat Stands: Compact and Budget-Friendly
If you're really tight on space or budget, squat stands might be the way to go. These are basically two independent vertical posts with adjustable J-cups to hold the barbell. They're super compact and easy to move around, making them a great option for small apartments or garage gyms. Plus, they're the most affordable type of squat rack, so you can get started without breaking the bank.
However, squat stands don't offer the same level of safety and stability as power racks or half racks. They typically don't have safety bars, so you'll need to be extra careful when lifting heavy. Also, they can be a bit wobbly, especially if you're not using high-quality stands. I started with squat stands back in college, and while they got the job done, I definitely felt more secure when I upgraded to a power rack later on. Start somewhere, but know your limits.
Rack Type | Space Required | Safety | Price | Best For |
|---|---|---|---|---|
Power Rack | Large | Excellent | High | Serious lifters, heavy weights |
Half Rack | Medium | Good | Medium | Balance of space and function |
Squat Stands | Small | Limited | Low | Beginners, limited space/budget |
Essential Features to Look for in a Squat Rack
Essential Features to Look for in a Squat Rack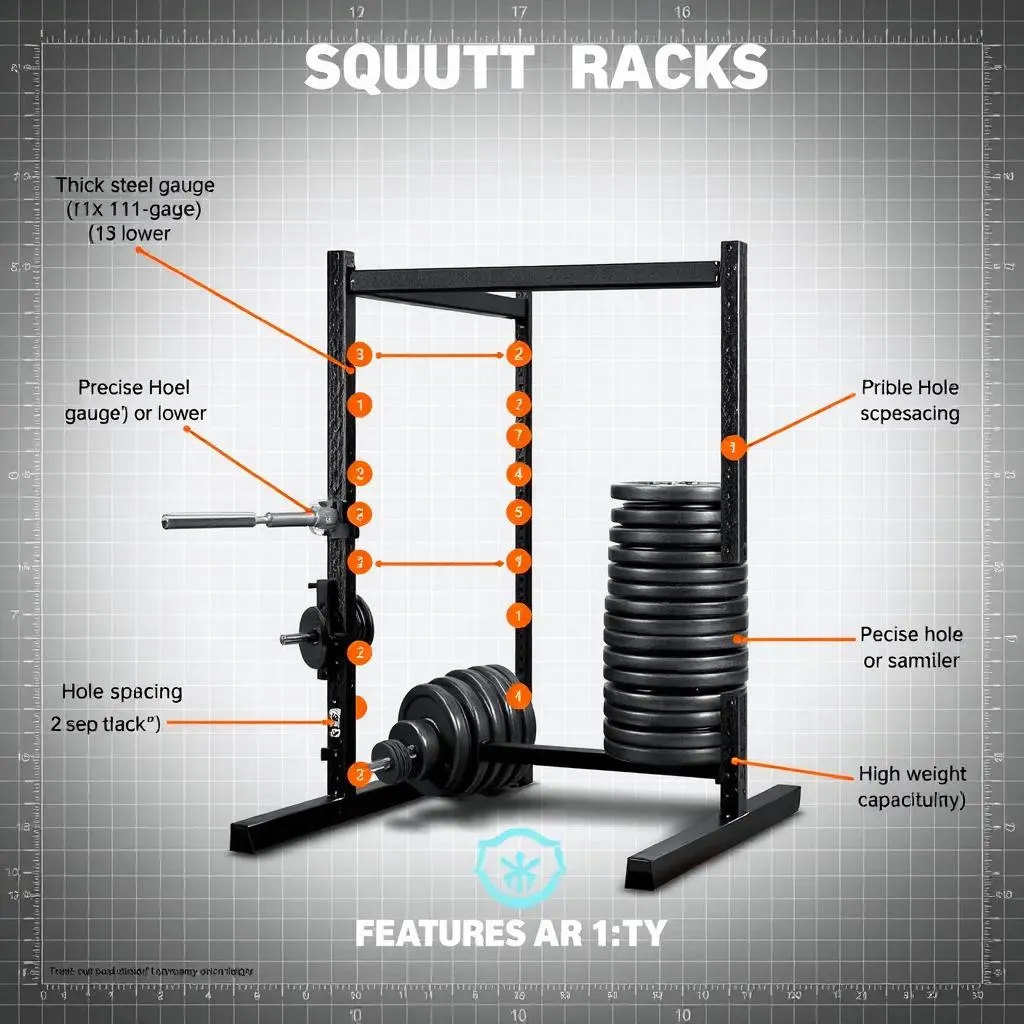
Steel Gauge: The Backbone of Your Rack
Alright, let's talk steel. The gauge of the steel used in your squat rack is crucial. Think of it as the backbone of the whole operation. Lower gauge numbers mean thicker steel, which translates to a stronger, more stable rack. For serious lifters, I recommend aiming for an 11-gauge steel rack or lower. Anything higher, and you might start to feel some wobble when you're pushing heavy weight. I've seen racks made with thinner steel bend and flex under load, which is a scary experience, trust me. Don't skimp on this – it's worth the investment for your peace of mind. Imagine loading up the bar for a personal best squat, only to have the rack buckle. Not fun!
Besides, thinner steel might not withstand the test of time. Constant use and heavy loads can wear it down, leading to cracks and potential failure. Thicker steel, on the other hand, is built to last. It can handle the daily grind of intense training sessions and still provide a safe and stable platform for your lifts. It’s like the difference between a flimsy cardboard box and a solid wooden crate – which one would you trust to hold your valuables?
Hole Spacing: Adjustability is Key
Next up, hole spacing. This refers to the distance between the holes on the uprights of your rack, which determines how precisely you can position your J-cups and safety bars. Smaller hole spacing, often referred to as Westside spacing (named after the famous Westside Barbell gym), allows for more fine-tuned adjustments. This is especially important for exercises like bench press, where even a small difference in height can affect your form and performance. Think about trying to find the perfect spot for your hands on a barbell – you want options!
When you have a lot of options and a lot of holes, it allows you to dial in the exact height for your safety pins. Many people will use this as the primary method for making sure they are safe when benching alone. Being able to fail the rep and dump the weight safely onto the pins is crucial to ensure your safety during solo training.
Larger hole spacing, on the other hand, might be more convenient for quick adjustments, but it can limit your ability to find that sweet spot. I've used racks with wide hole spacing before, and it can be frustrating when you're stuck choosing between a height that's slightly too high or slightly too low. Aim for a rack with 2-inch or smaller hole spacing, especially in the bench press area. Your shoulders will thank you.
Weight Capacity: Know Your Limits (and Exceed Them Safely)
Finally, let's talk weight capacity. This is pretty self-explanatory, but it's crucial to choose a rack that can handle the amount of weight you plan to lift. Always err on the side of caution and go for a rack with a higher weight capacity than you currently need. You don't want to max out your rack's capacity and risk a catastrophic failure. I've seen racks rated for 500 pounds collapse under significantly less weight due to poor construction or material quality. Do your research and read reviews before making a purchase.
Always consider that your weight capacity should be considered for static and dynamic weight. Dropping the bar or failing a lift can create a much higher force than just the weight on the bar. This can be a huge factor in the longevity of your squat rack.
Weight capacity isn't just about the total weight the rack can hold, it's also about the quality of the J-cups and safety bars. Make sure they're made from durable materials and securely attached to the rack. I've seen J-cups bend and break under heavy loads, which can be incredibly dangerous. Look for racks with solid steel J-cups and safety bars with a proven track record. It's better to overbuild than underbuild when it comes to safety. Check out the table below for a quick recap of these essential features:
Feature | Importance | Recommendation |
|---|---|---|
Steel Gauge | Strength and stability | 11-gauge or lower |
Hole Spacing | Adjustability and precision | 2-inch or smaller |
Weight Capacity | Safety and future-proofing | Higher than current max lift |
Setting Up Your Home Gym Equipment Squat Rack Safely
Setting Up Your Home Gym Equipment Squat Rack Safely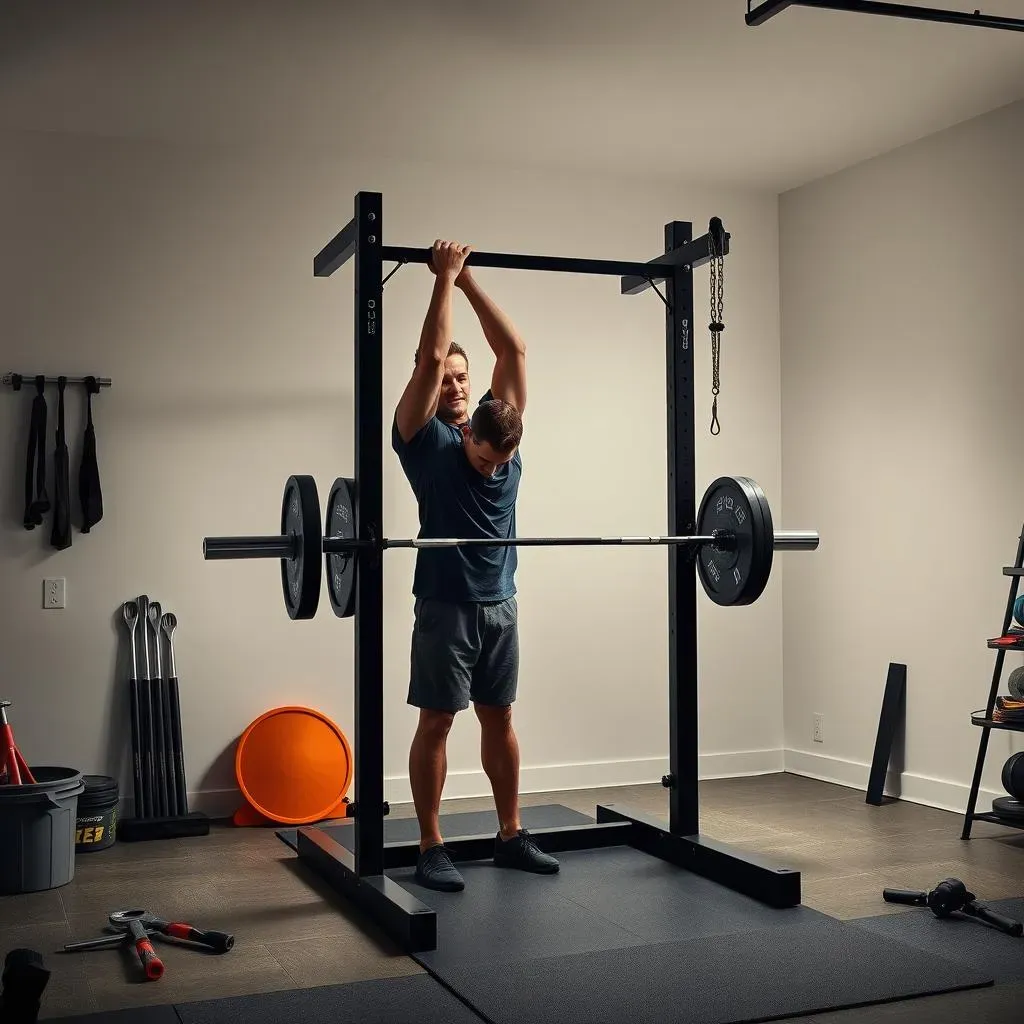
Location, Location, Location: Choosing the Right Spot
Alright, you've got your home gym equipment squat rack. Now, where are you going to put it? This is more important than you might think. You need a level, stable surface that can handle the weight of the rack and the weight you'll be lifting. A concrete floor is ideal, but if you're on wood, make sure the floor is strong enough to support the load. Avoid placing your rack on uneven surfaces or near anything that could be easily damaged. I once saw a guy set up his rack next to a glass patio door, and let's just say it didn't end well. Give yourself plenty of space around the rack to move freely and spot safely. You don't want to be bumping into walls or other equipment while you're lifting. Trust me, a little planning goes a long way.
Before you even start assembling the rack, clear the area completely. Get rid of any clutter, tools, or random objects that could get in the way. You want a clean, open workspace so you can focus on the task at hand. Also, make sure you have good lighting. You need to be able to see what you're doing clearly, especially when tightening bolts and adjusting safety bars. Poor lighting can lead to mistakes and potential injuries. Think of it like performing surgery – you wouldn't want to operate in the dark, would you?
Assembly Required: Follow the Instructions (Seriously!)
this might seem obvious, but read the instructions! I know, I know, nobody likes reading instructions. But trust me, when it comes to assembling a home gym equipment squat rack, it's essential. Follow the steps carefully and don't skip any corners. Use the correct tools and tighten all the bolts securely. A loose bolt can be a disaster waiting to happen. I've seen people try to wing it and end up with racks that are wobbly, unstable, and downright dangerous. Don't be that person. Take your time, be patient, and double-check your work. Your safety depends on it. Plus, properly assembled equipment lasts longer. It's a win-win.
Enlist a buddy to help you out. Assembling a squat rack is much easier and safer with two people. One person can hold the pieces in place while the other tightens the bolts. Plus, it's always good to have a second set of eyes to make sure everything is aligned correctly. Safety in numbers, right? If you're assembling the rack by yourself, be extra careful and take frequent breaks. Don't try to rush through it, and don't hesitate to ask for help if you get stuck. There's no shame in admitting you need a hand. It's better to ask for help than to end up with a poorly assembled rack that could collapse under weight.
Safety First: Setting Up Your Spotter Arms
Once your rack is assembled, it's time to set up your spotter arms. These are the safety bars that will catch the weight if you fail a lift. Position them at the correct height for each exercise. For squats, the spotter arms should be just below the point where the bar would hit your chest if you were to fail. For bench press, they should be just above your chest. The goal is to set them high enough to catch the weight, but low enough that you can still bail out safely. I recommend testing the spotter arms with an empty bar before loading up any weight. Just practice failing a rep and see how the spotter arms catch the bar. This will give you confidence and ensure that they're properly positioned.
Before you start your workout, double-check that the spotter arms are securely locked in place. Give them a good shake to make sure they're not going anywhere. I've seen spotter arms slip out during a lift, which can be incredibly dangerous. Also, make sure the J-cups that hold the barbell are properly positioned and locked in place. You don't want the bar to roll off the J-cups while you're setting up for a lift. A little pre-workout check can save you a lot of pain and trouble. Think of it like a pilot doing a pre-flight check before taking off – it's a critical step that shouldn't be skipped.
Safety Step | Description | Why It Matters |
|---|---|---|
Level Surface | Ensure the rack is on a stable, even floor. | Prevents wobbling and potential tipping. |
Correct Assembly | Follow instructions, tighten bolts securely. | Ensures structural integrity and safety. |
Spotter Arm Placement | Position spotter arms at the correct height. | Provides a safety net in case of failed lifts. |
Top Squat Rack Exercises and Workout Ideas
Top Squat Rack Exercises and Workout Ideas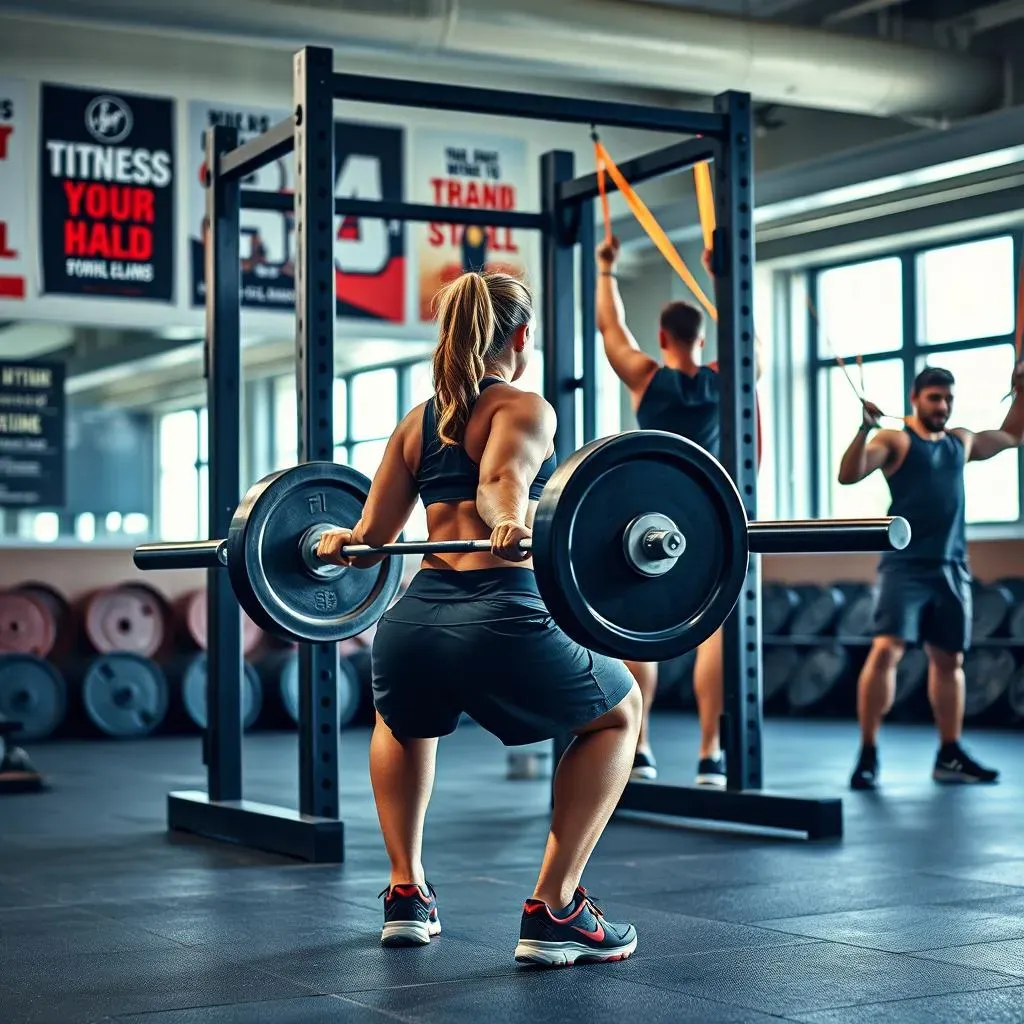
The Big Lifts: Squats, Bench Press, and Overhead Press
Alright, let's dive into the meat and potatoes of squat rack training: the big three. We're talking squats, bench press, and overhead press. These are the foundational exercises that will build strength, power, and muscle all over your body. The squat rack provides a safe and stable environment to perform these lifts with heavy weight. Start with squats, the king of all exercises. Whether you prefer back squats, front squats, or even box squats, the squat rack is your best friend. Focus on proper form, depth, and control. Don't be afraid to start light and gradually increase the weight as you get stronger. Remember, consistency is key.
Next up is the bench press, a classic chest and triceps builder. The squat rack allows you to safely load up the bar and push your limits. Use spotter arms to protect yourself in case you fail a rep. Experiment with different grip widths and angles to target different areas of your chest. Finally, we have the overhead press, a fantastic exercise for building shoulder strength and stability. The squat rack provides a stable base to press from, allowing you to focus on proper form and technique. These three exercises alone can form the basis of a complete and effective workout routine.
If you are doing these exercises, consider filming yourself. This is a fantastic way to see what you are doing wrong, and what can be improved. It also allows you to track progress over time!
Beyond the Barbell: Pull-Ups, Dips, and More
But the squat rack isn't just for barbell exercises. It can also be used for a variety of bodyweight exercises, such as pull-ups and dips. Many squat racks come with a built-in pull-up bar, which is perfect for building upper body strength. If your rack doesn't have a pull-up bar, you can easily attach one using straps or clamps. Dips can be performed using dip bars that attach to the squat rack. These exercises are great for targeting your chest, triceps, and shoulders. Incorporating bodyweight exercises into your squat rack routine can add variety and challenge your muscles in new ways. Plus, they're a great way to improve your overall fitness and athleticism.
Furthermore, you can use resistance bands on the squat rack. Consider anchoring resistance bands to the squat rack and doing rows, curls, tricep extensions, and much more. This is a great way to add intensity to your workouts and target specific muscle groups. Squat racks are truly a versatile piece of equipment that can be used for a wide range of exercises. Don't be afraid to get creative and experiment with different exercises and variations to find what works best for you. The possibilities are endless!
Exercise | Muscle Group | Benefits |
|---|---|---|
Squats | Quads, glutes, hamstrings | Builds lower body strength and power |
Bench Press | Chest, triceps, shoulders | Builds upper body strength and muscle mass |
Overhead Press | Shoulders, triceps, core | Improves shoulder strength and stability |
Pull-Ups | Back, biceps, forearms | Builds upper body pulling strength |
Dips | Chest, triceps, shoulders | Builds upper body pushing strength |
Conclusion: Your Home Gym, Your Rules
Investing in a home gym equipment squat rack is an investment in yourself. It's about creating a space where you can push your limits, build strength, and achieve your fitness goals on your own terms. By carefully considering your needs, prioritizing safety, and exploring the endless exercise possibilities, you'll transform your home into a personal powerhouse. So, go ahead, take the leap. Your stronger, healthier self is waiting.