Table of Contents
So, you're staring at that hulking piece of home gym equipment, maybe a treadmill that's seen better days, or a weight machine that's now just taking up space. Moving? Renovating? Or maybe you just need to reclaim some room? Whatever the reason, the thought of taking it apart can be daunting. But fear not, disassembling home gym equipment doesn't have to be a nightmare. In this article, we'll walk you through the process, making it less of a puzzle and more of a manageable task. We’ll cover everything from the essential prep work, step-by-step instructions on how to disassemble home gym equipment, crucial safety tips to keep you and your gear in one piece and finally, some handy advice for when it's time to put it all back together. We'll also share some real-world examples to help you visualize the process. Think of this as your friendly guide to taming that beast of a machine, so let's get started.
Before You Start: Planning Your Disassembly
Before You Start: Planning Your Disassembly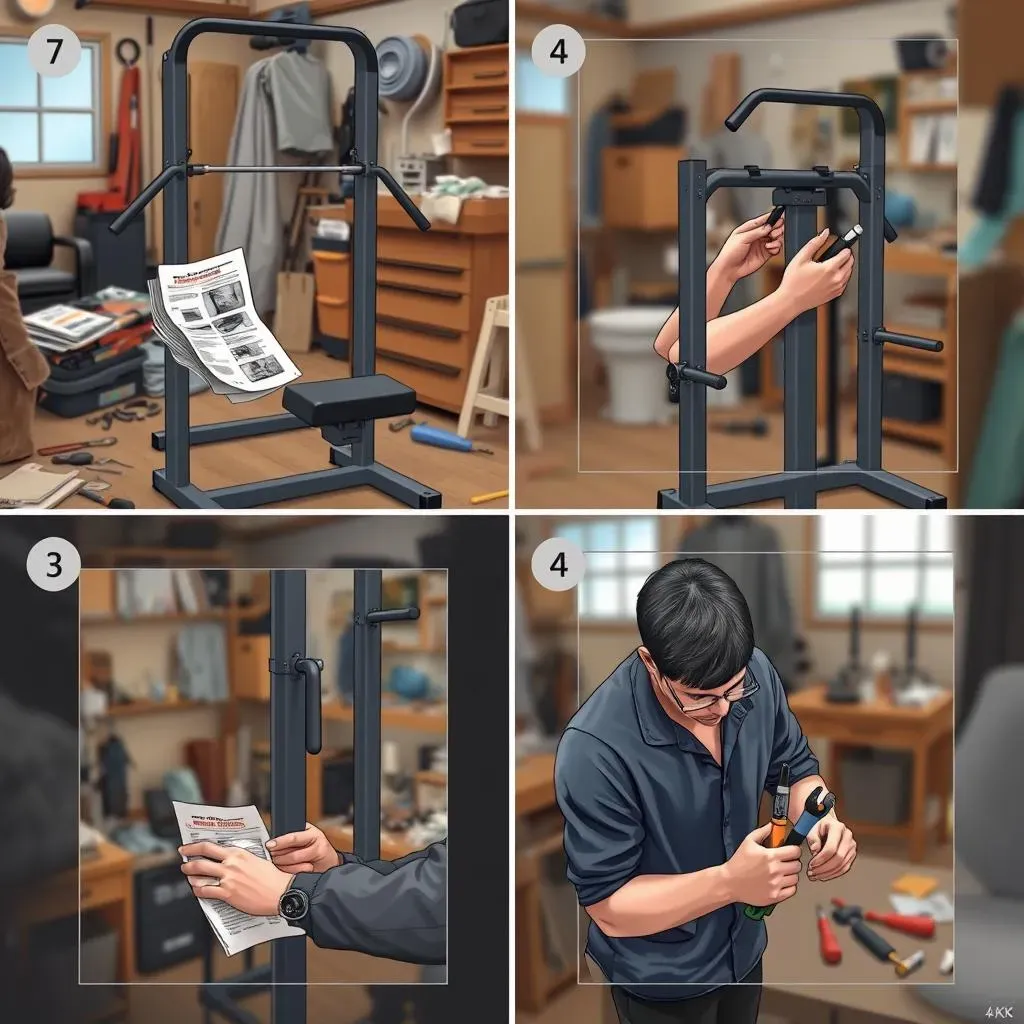
Alright, so you're about to embark on the journey of disassembling your home gym equipment. Before you even think about grabbing a wrench, let's talk strategy. This isn't like assembling that IKEA furniture where you just wing it and hope for the best. Think of it like a mini-construction project, but in reverse. The first thing you absolutely must do is locate the instruction manual for your equipment. Yes, I know, those things are often lost in the void of forgotten papers, but trust me, it's a goldmine. It will have diagrams, specific tool lists, and step-by-step guides tailored to your exact model. Don't skip this step; it’s like trying to bake a cake without a recipe.
Once you've got your manual in hand, take a moment to actually read it, not just skim it. Seriously, I know reading manuals is about as exciting as watching paint dry, but it's crucial. Pay close attention to any specific warnings or precautions. Next, survey your workspace. Clear the area around the equipment, make sure you have enough room to move around and lay out parts. Gather all the tools you need based on the manual. Having everything ready before you start will save you a lot of frustration and time. Think of this prep work as setting the stage for a successful operation. A little planning goes a long way in avoiding future headaches.
Step | Action |
|---|---|
1 | Locate and Read the Equipment Manual |
2 | Clear and Prepare Your Workspace |
3 | Gather All Necessary Tools |
How to Disassemble Home Gym Equipment: StepbyStep
How to Disassemble Home Gym Equipment: StepbyStep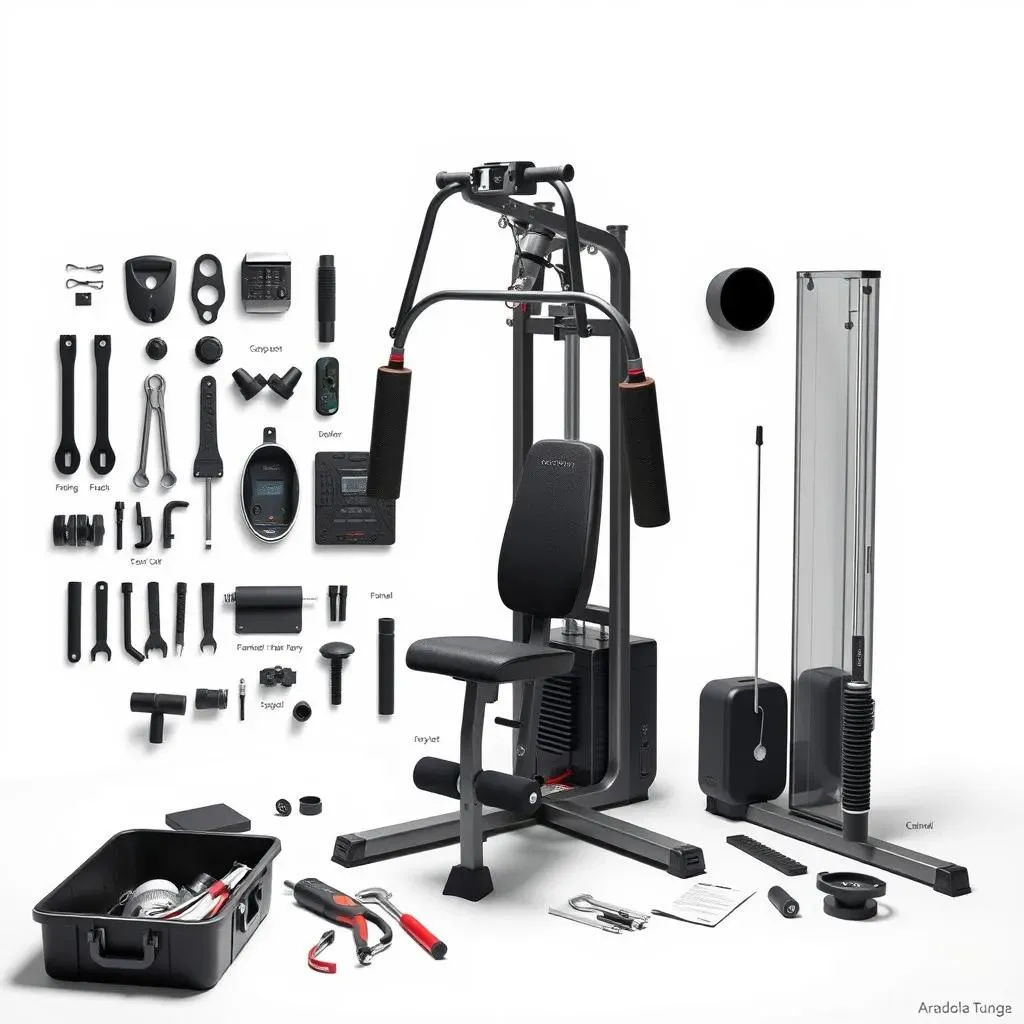
Getting Started: The First Moves
so you've got your manual, your workspace is clear, and your tools are ready. Now, it's time to start taking things apart. Begin by identifying the main components of your equipment. This might be the frame, the weight stacks, or the console, depending on what you have. Refer to your manual for the specific order of disassembly, as this can vary greatly between different types of gym equipment. Usually, you'll start by removing any external parts like plastic covers, guards, or accessories. These are typically held in place by screws or clips, so keep a close eye on where they go. As you remove them, place them in a container or bag, and label them. Trust me, this small step will save you from a major headache later on.
Next, focus on disconnecting cables and wires, if your machine has them. Before you disconnect anything, take a photo or make a drawing of how everything is connected, especially if there are a lot of wires. This will be invaluable when you go to reassemble. Carefully disconnect each cable, and label both ends so you can easily reconnect them later. For weight stacks, remove the weight selector pin and then carefully remove each weight plate. You may need to remove some pins or bolts to free them. Be prepared for some parts to be heavy, so you might need a friend to help. Think of it like a reverse engineering project, but instead of building, you’re deconstructing.
Step | Action | Tip |
|---|---|---|
1 | Identify Main Components | Refer to your manual |
2 | Remove External Parts | Label everything |
3 | Disconnect Cables and Wires | Take photos |
4 | Remove Weight Plates | Get help if needed |
The Nitty-Gritty: Dismantling the Frame
With the external parts and weight stacks out of the way, it’s time to tackle the main frame. This is where things can get a bit more complex. Typically, the frame is held together by bolts, nuts, and screws. Again, refer to your manual for the specific locations and sizes of these fasteners. Start by removing the bolts or screws from one section at a time, working your way from the top down. As you disassemble the frame, keep track of how the pieces fit together. You can use masking tape and markers to label each piece or section. This will help you understand how to reassemble it later on. When removing bolts, make sure to place them in a container to keep them organized.
Sometimes, you might find that some bolts are stuck or difficult to remove. Don’t force them. Use some penetrating oil and let it sit for a few minutes before trying again. If the bolt is still stuck, you might need to use a wrench with a longer handle for more leverage, but be careful not to strip the bolt head. Once the main frame is disassembled, you can move on to any remaining parts, such as the seat, handlebars, or footrests. Remember to take photos as you go, especially if you’re unsure how something connects. It’s like taking notes during a class, but instead of words, you're using your camera.
“The key to a smooth disassembly is organization. Label everything, take photos, and don't rush.” - A Wise Home Gym Enthusiast
Safety First When Disassembling Gym Equipment
Safety First When Disassembling Gym Equipment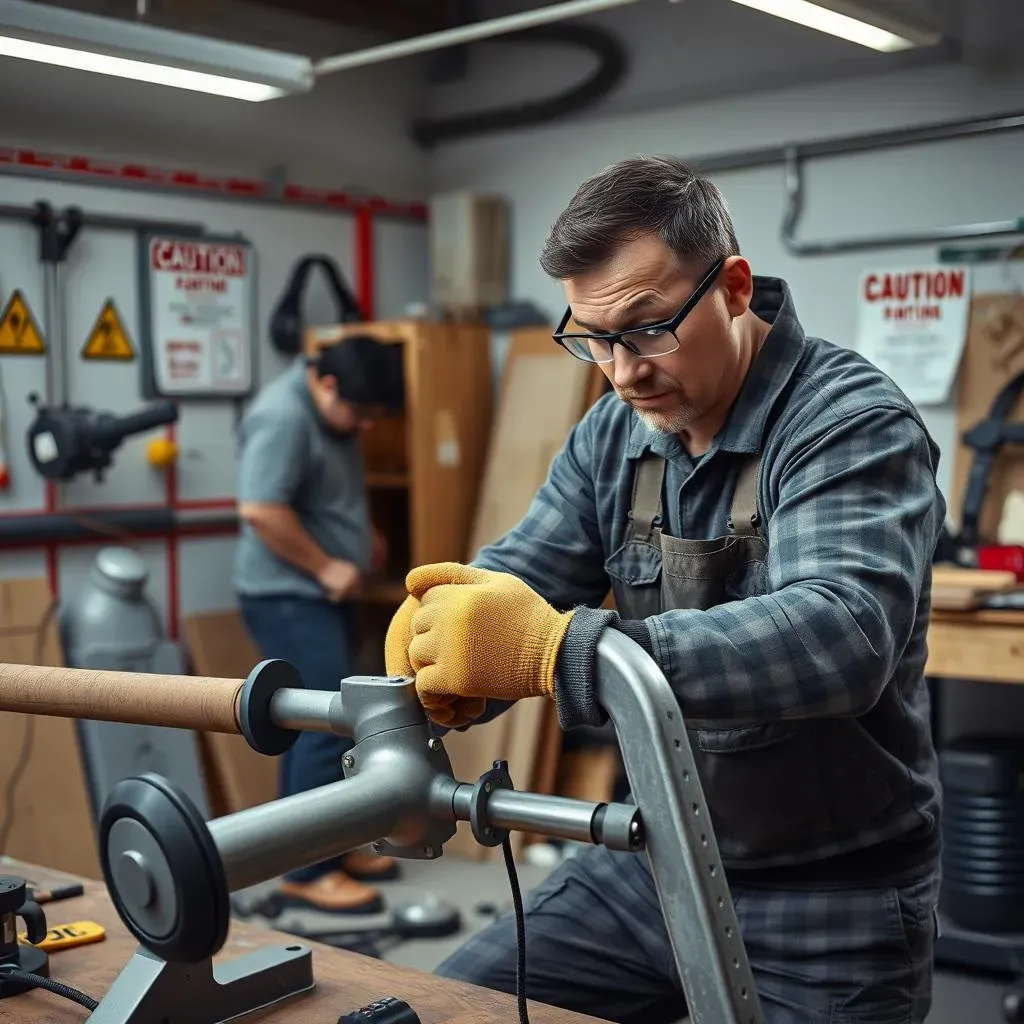
so you're getting the hang of how to take apart your gym equipment, but let's pump the brakes for a sec and talk safety. This isn't just about avoiding scraped knuckles; it's about preventing serious injuries. First things first, always wear appropriate safety gear. I'm talking about sturdy work gloves to protect your hands from sharp edges and possible pinches, and safety glasses to keep any flying debris out of your eyes. Trust me, a rogue screw in the eye is not a fun way to spend an afternoon. Also, wear closed-toe shoes, you don't want to drop a heavy weight on your bare toes. Another crucial tip is to never rush the process. Take your time and work methodically. If something feels like it's not coming apart easily, don't force it. Double-check your manual, and if needed, call a friend to help.
Also, be aware of the weight of each component. It’s always better to ask for help when moving heavy parts. Never attempt to lift something that’s too heavy for you. You might end up with a strained back or worse. And, make sure that kids and pets are kept far away from the workspace. You don't want them running around while you're working with tools and heavy equipment. Finally, if you are not comfortable with any part of the disassembly process, it’s better to call a professional. It might cost you some money, but it's worth it for peace of mind and safety. Remember, safety isn't just a guideline; it's the golden rule of any DIY project.
Safety Precaution | Why It's Important |
|---|---|
Wear Gloves | Protects hands from sharp edges and pinches |
Wear Safety Glasses | Protects eyes from flying debris |
Wear Closed-Toe Shoes | Protects feet from dropped objects |
Don't Rush | Prevents accidents from hasty actions |
Get Help With Heavy Items | Avoids strains and injuries |
Keep Kids & Pets Away | Prevents accidents and distractions |
Reassembling Your Gym Equipment: Tips and Tricks
Reassembling Your Gym Equipment: Tips and Tricks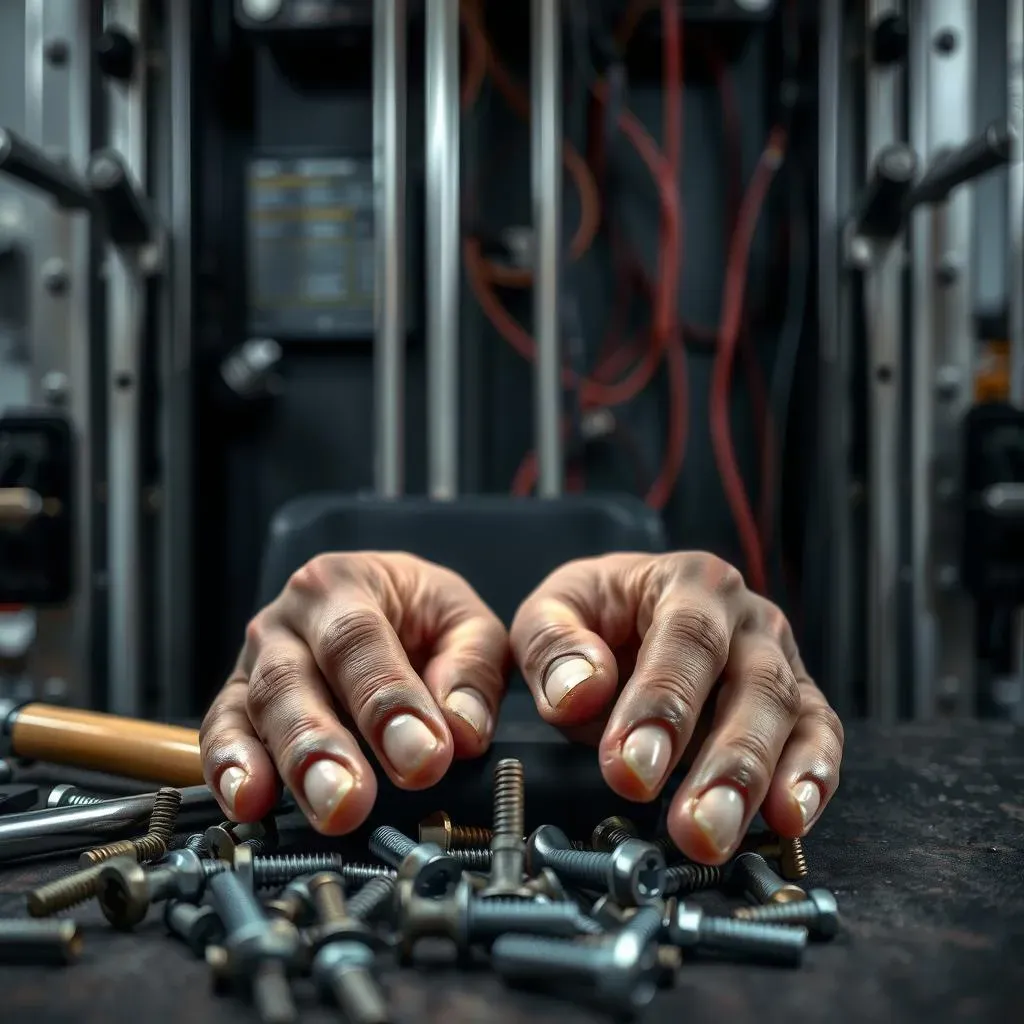
so you’ve successfully taken apart your gym equipment. Congratulations! But the real test is putting it all back together. Reassembling your gym equipment can feel like a daunting task, but if you've followed my advice and kept everything organized, you're already halfway there. The key is to work in reverse order of your disassembly. Start with the main frame, and slowly start adding all of the smaller components. Refer to your photos and notes as you go. If you labeled everything properly, this process will be much easier. Remember those photos you took? Now’s the time to use them. They're like your personal instruction manual.
As you're reassembling, don’t tighten every bolt completely until the very end. Leave them a bit loose so you have some wiggle room for adjustments. Once everything is in place, then you can go back and tighten all the bolts. Double-check every connection and make sure everything is secure before using the equipment. If something doesn't feel right, stop and figure out what the issue is before it becomes a bigger problem. It's like a puzzle, and every piece needs to fit perfectly. Think of it as a victory lap, you’re not just putting things back together; you’re bringing your gym back to life.
Reassembly Step | Action | Tip |
|---|---|---|
1 | Start with the Main Frame | Work in reverse order of disassembly |
2 | Refer to Photos and Notes | Use them as your guide |
3 | Leave Bolts Loose Initially | Allows for adjustments |
4 | Double-Check Connections | Ensure everything is secure |
Wrapping Up: Disassembling Your Home Gym Equipment
Disassembling your home gym equipment might seem like a Herculean task at first, but with the right approach, it becomes a lot more manageable. Remember, patience and organization are key. Following the manual, taking photos, and labeling everything will save you a ton of headaches when it's time to reassemble. If you're ever in doubt, don't hesitate to call in a professional. It's better to be safe than sorry, and your equipment (and your back) will thank you for it. Now, go forth and conquer that gym equipment, and reclaim your space!